Heads up, partner! This post contains Amazon affiliate links. As an Amazon Associate, I earn from qualifying purchases.
How to plan a baby shower • step-by-step
Learning how to plan a baby shower shouldn’t feel confusing. If you’ve been searching because you don’t know what to do first (theme? invites? registry?), this guide will walk you through it in the order that actually makes sense.
Better yet, you can use this like a planning checklist. Start with the basics, follow the steps, and then enjoy the fun parts without the stress.
📌 Save this for later: Pin it now so you can come back when you’re ready to plan (and share it with anyone helping you host).
Quick Start: The Simple Baby Shower Plan
If you want the short version first, start here. Then, scroll to any section you need.
- Pick date + guest list style
- Choose a theme
- Send invitations
- Set up a registry (if wanted)
- Plan food + drinks
- Choose simple décor
- Add 1–2 games (optional)
- 6–8 weeks out: set date + space
- 5–6 weeks out: pick theme + invite
- 4–6 weeks out: send invitations
- 2 weeks out: finalize food + décor
- 2–3 days out: prep and shop
Even if you do nothing “extra,” this plan will still give you a beautiful, organized shower.
Step 1: Decide the Basics
Before you buy anything, set your foundation. That way, every other choice is easier—and you won’t waste money.
Choose these three first
- Date + time: Most showers happen about 6–8 weeks before the due date. However, earlier can be better if guests are traveling.
- Guest list style: Decide if it’s mom-only, co-ed, or a small gathering. Then choose a space that fits comfortably.
- Budget range: Even a rough number helps guide food, décor, and favors.
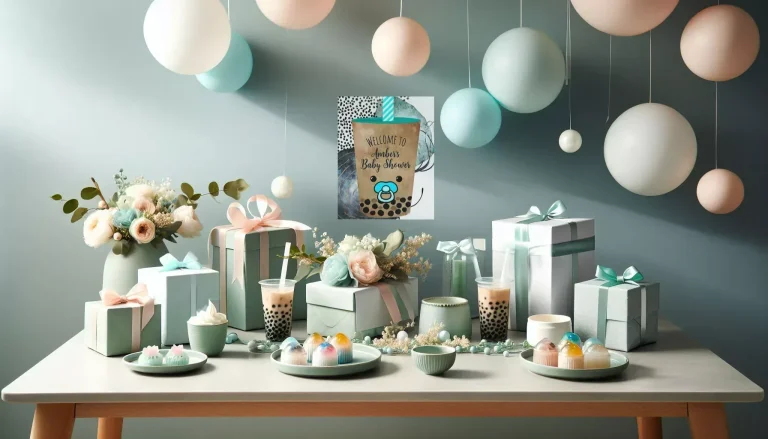
For a simple plan, pick one “main moment” and keep the rest easy. For example, do a pretty dessert table or a balloon backdrop—then go simple everywhere else.
Step 2: Choose a Theme (This Makes Everything Easier)
A theme doesn’t need to be complicated. Instead, think of it as a “filter” that keeps decisions simple.
Easy themes that style beautifully:
- Neutral or gender-neutral baby showers
- Boho baby showers
- Baby animal or woodland themes
- Soft pastels or classic colors
Once you pick a theme, it guides:
- Invitations and color palette
- Decorations and signage
- Food table styling (labels and display)
- Games and favors (so everything matches)
✨ Tip: If you want a calm, modern look, boho baby animal themes are a safe win—because they match so easily across décor and gifts.
Step 3: Send Invitations Early
Invitations set the tone. More importantly, they give guests time to RSVP and shop your registry.
When to send them:
About 4–6 weeks before the event. If guests are traveling, send them a bit earlier.
What to include:
- Date and time
- Location (or virtual details)
- RSVP instructions + deadline
- Registry information (if applicable)
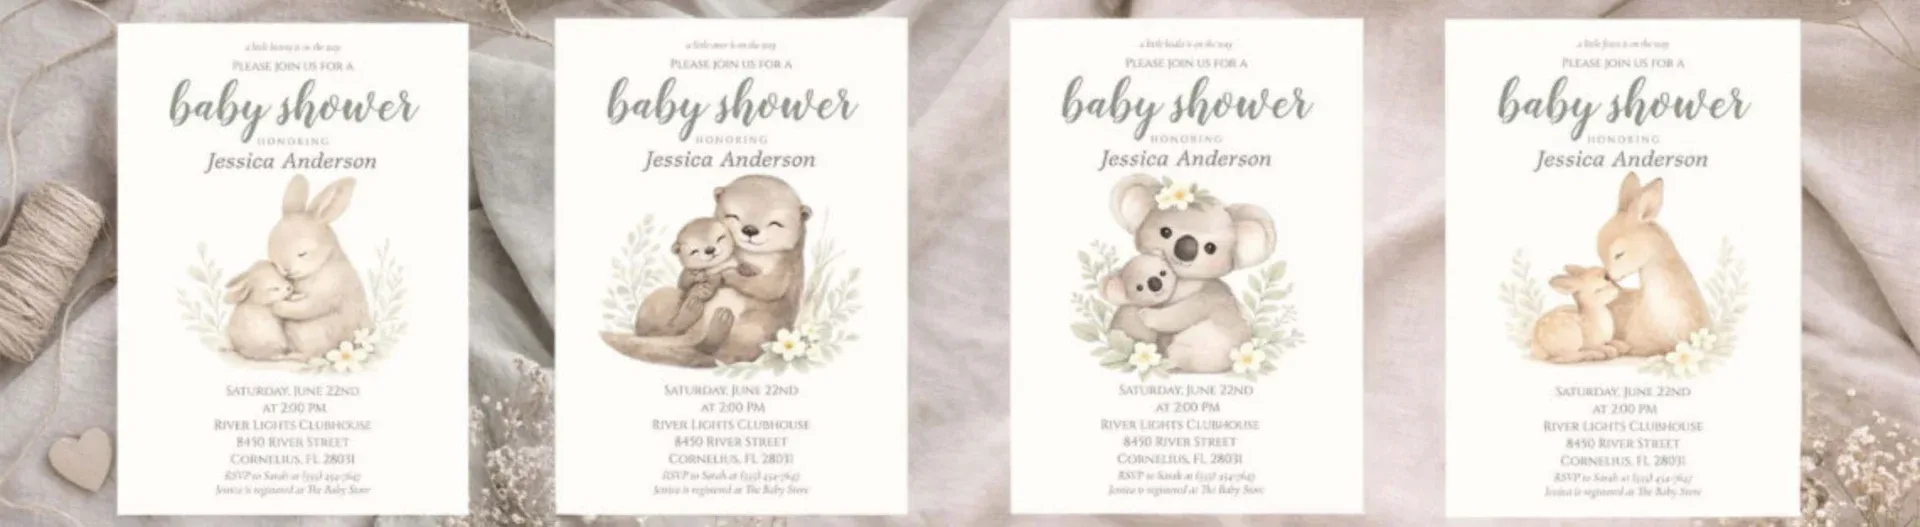
Where invitations come in
This is where a professionally designed invitation helps. Once the invitation feels right, your whole shower suddenly feels “planned.”
See the Boho & Neutral Animal Baby Shower Collection here >>
If you’re unsure what to put on the invite, write the basics first (date, time, location, RSVP). After that, add registry details and a short note about the vibe (for example: “drop-in shower” or “brunch shower”).
Step 4: Plan the Food & Drinks
Food doesn’t need to be fancy. Instead, aim for easy-to-grab items that guests can eat while chatting.
Pick a simple menu based on time of day
- Brunch: pastries, fruit, casseroles
- Midday: finger foods and snack boards
- Afternoon: sweets plus a light spread
- Any time: water + one fun drink (punch or mocktail)
As a rule of thumb, 2–3 snacks + 1 sweet + 1–2 drinks is plenty for most showers.
Shopping list: Helpful things to get that can be used beyond the baby shower
Use one “styled moment” on the food table. For example, add a simple label sign, stack plates neatly, and group drinks together. Even small touches make the whole setup look intentional.
Step 5: Decorations That Don’t Overdo It
You don’t need to decorate every corner. Instead, focus on a few spots that guests naturally notice.
Focus on these 3 areas
- A welcome area or entry table
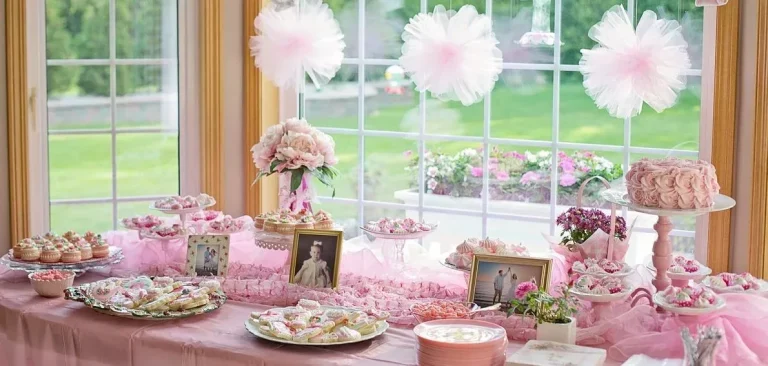
- A food/dessert table (this becomes your “main photo” area)
- A small photo moment (a backdrop, sign, or balloon corner)
Simple décor that makes a big impact:
- Balloons or garlands
- Table runners or centerpieces
- Signage or themed accents
Shopping list: Helpful things to get that can be used beyond the baby shower
- Balloon arch kit
- Command hooks or removable wall hooks
- Tabletop decor stands or frames
If you only do one “wow” item, choose the photo spot. Then keep the rest light and clean so it doesn’t feel cluttered.
Step 6: Baby Shower Games & Activities
Games are optional. Still, one or two activities can help guests mingle and laugh together.
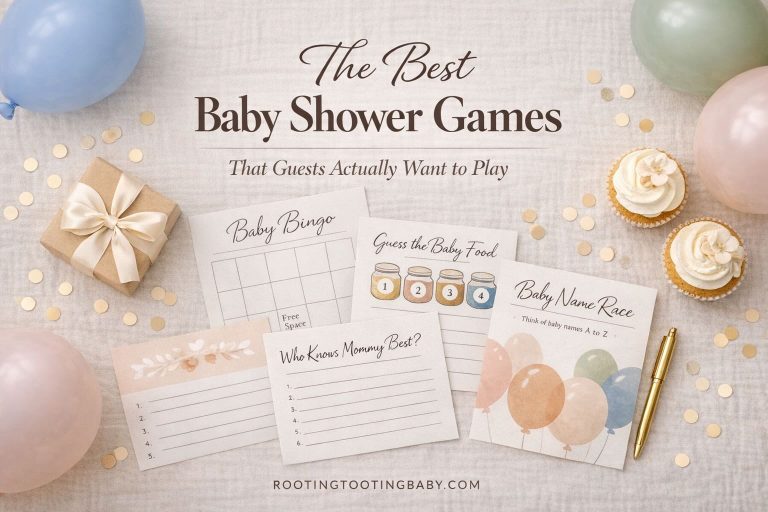
Easy, crowd-pleasing ideas:
- Guess-the-baby prompts
- Bingo-style games
- Advice cards for parents-to-be
- Baby prediction sheets
Because people like time to chat, keep the schedule light. For most showers, two short games is the sweet spot.
Browse the huge selection of baby shower games >>
Instead of a big group game, set out one activity table (advice cards or predictions). That way guests can join in whenever they want.
Step 7: Gifts & the Registry
A registry helps guests feel confident. In other words, it removes the guesswork.
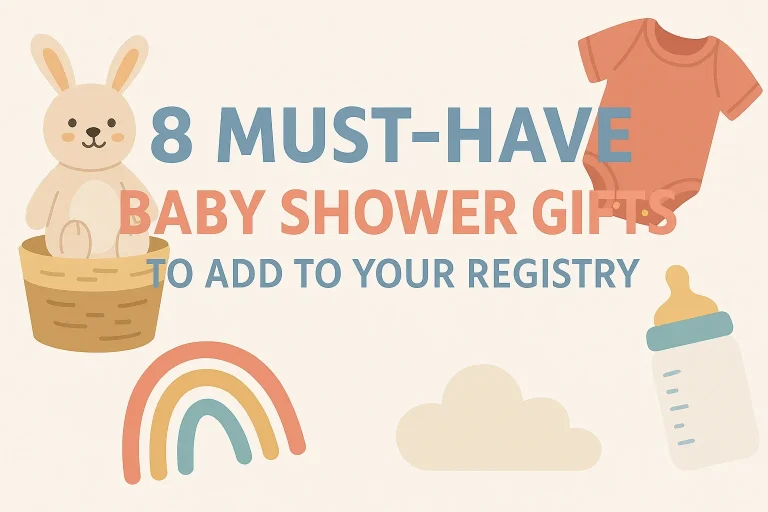
Common registry categories include:
- Baby essentials (diapers, wipes, clothing)
- Nursery items
- Feeding and bath supplies
- Keepsakes or memory items
Finally, add the registry info to the invitation (or shower details). That small step makes shopping easier for everyone.
Step 8: Favors (Optional, But Thoughtful)
Favors are not required. However, if you want them, keep them simple and useful (or edible).
Ideas guests love:
- Small treats
- Candles or soaps
- Thank-you tags or keepsakes
Step 9: The Day-Of Checklist
On shower day, a quick walkthrough keeps you calm. So before guests arrive, check these items once.
- Food and drinks are ready (plus serving utensils)
- Plates, napkins, cups, and trash bags are set out
- Games/activities are printed or placed (if you’re doing them)
- A gift area is prepared (table, basket, or corner)
- Someone is ready to take photos
- 0:00–0:30 Guests arrive + snacks
- 0:30–0:45 One quick game (optional)
- 0:45–1:30 Gifts or open mingle time
- Last 10 minutes Photos + thank-yous
Then enjoy it. You planned the day, and you don’t need to “host hard” every second.
After the Shower
Once the celebration wraps up, do a quick reset and save what matters.
- Keep track of gifts for thank-you notes
- Save photos and keepsakes
- Enjoy the moment — you pulled it off 💛
Ready to Start Planning?
Now that you know how to plan a baby shower step by step, you can start with an invitation, build your theme, and keep everything simple as it comes together. Most importantly, you’ll know what to do next.
✨Need a visual reminder? Download a printable check list here >>
📌 If this helped, pin it so you can come back when it’s shower-planning time.